Image Compression Explained: How to Reduce File Size Without Ruining Quality
Why Image File Size Matters More Than You Think
Here's a scenario that plays out millions of times a day: someone takes a photo on their phone, tries to email it, and gets hit with a "file too large" error. Or a website owner uploads beautiful high-resolution images to their site, only to discover that pages take 8 seconds to load and visitors are bouncing before they even see the content.
Images are, by a wide margin, the heaviest elements on most websites and in most email attachments. A single uncompressed photo from a modern smartphone can easily weigh in at 5-10 MB. A professional DSLR image? 20-50 MB or more. Multiply that by a dozen images on a webpage, and you're looking at load times that would make even the most patient user give up.
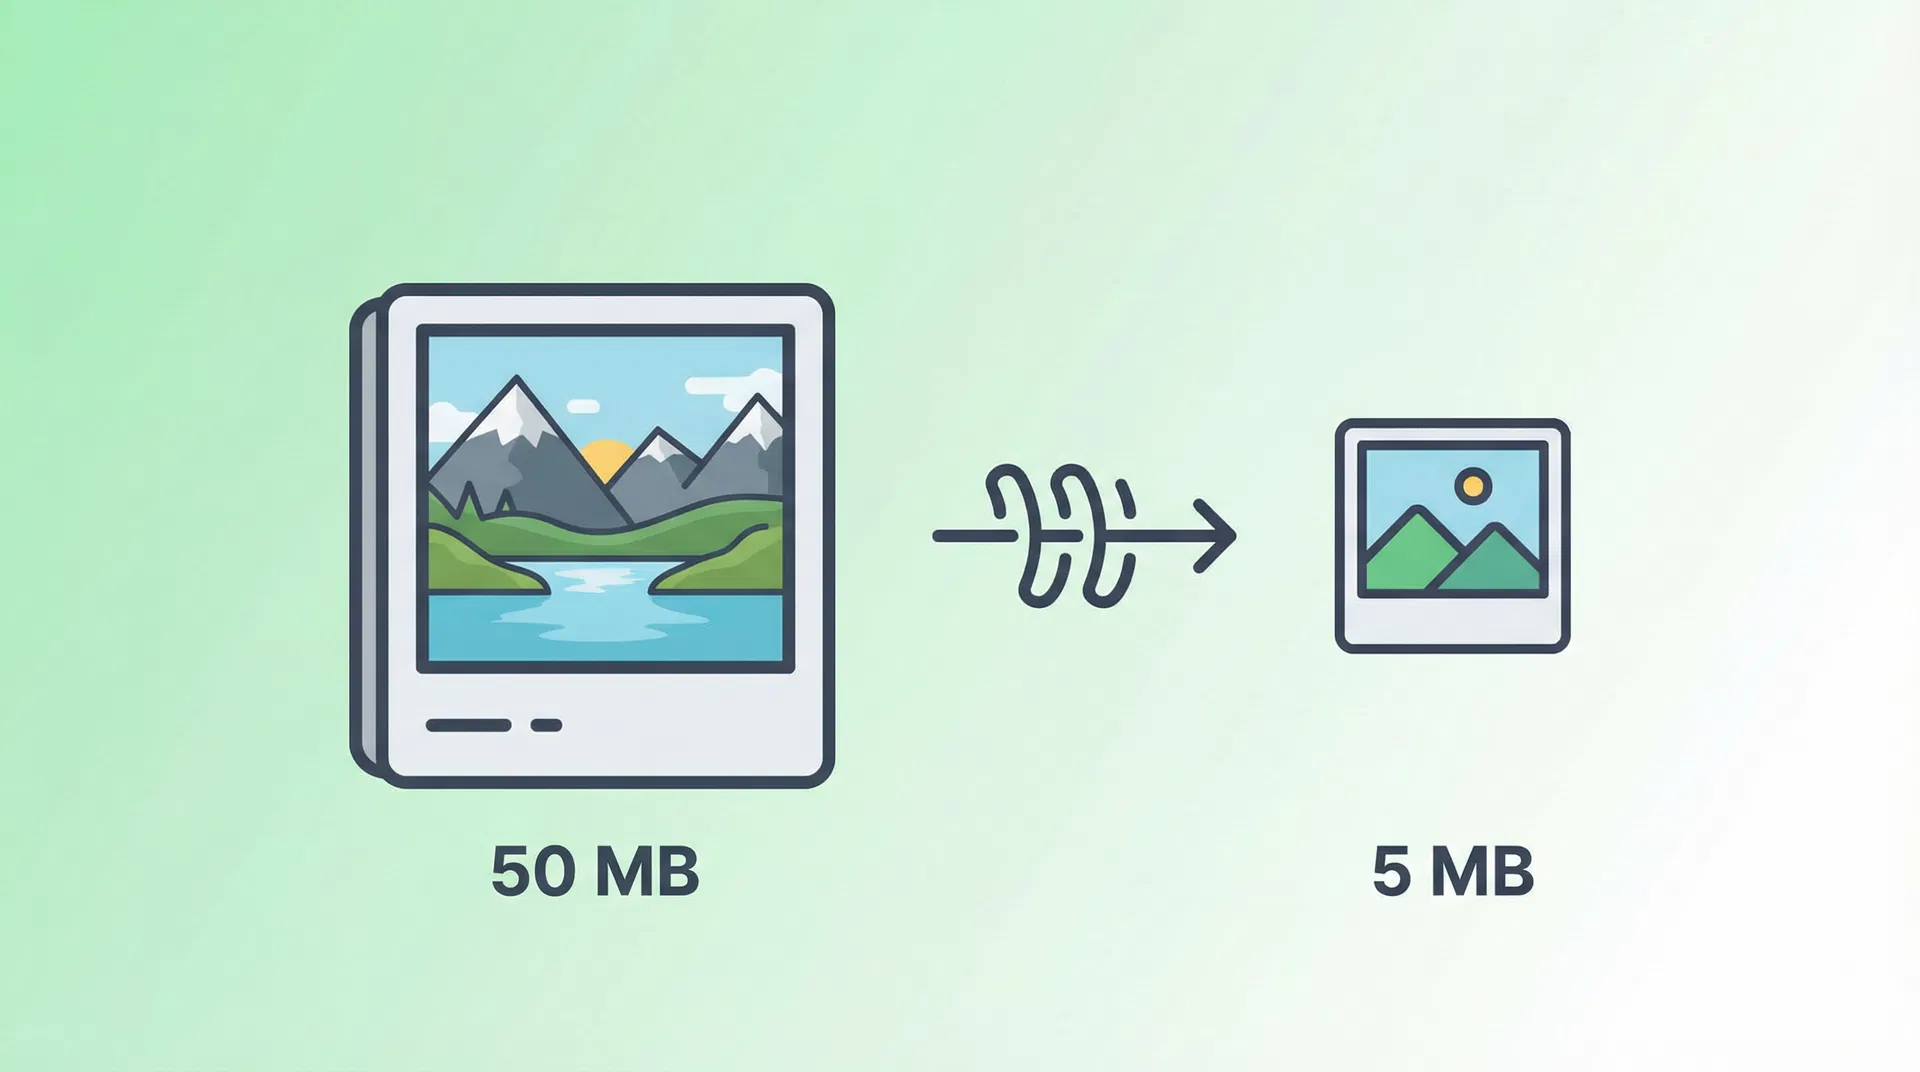
The good news is that image compression has gotten remarkably good. You can often reduce file sizes by 60-80% with virtually no visible difference in quality. The trick is understanding how compression works and choosing the right approach for your specific situation.
Lossy vs. Lossless: The Two Flavors of Compression
All image compression falls into one of two categories, and understanding the difference is key to making good decisions.
Lossless compression reduces file size without discarding any image data. When you decompress the file, you get back the exact original, pixel for pixel. Think of it like putting clothes in a vacuum storage bag — everything's still there, just packed more efficiently. PNG is the most common lossless format for web images. The compression ratios are modest (typically 20-40% reduction), but quality is perfectly preserved.
Lossy compression achieves much higher compression ratios by permanently removing some image data. The algorithm identifies information that the human eye is least likely to notice and discards it. JPEG is the classic lossy format. At moderate quality settings, you can reduce file sizes by 70-90% with differences that are genuinely hard to spot. Push the compression too far, though, and you start seeing those telltale blocky artifacts, especially around sharp edges and text.
Neither approach is inherently better — they serve different purposes. The right choice depends on what you're doing with the image.
When to Use Which Format
This is where a lot of people get confused, so let me break it down simply:
Use JPEG for photographs. Photos have smooth gradients, complex color variations, and organic shapes — exactly the kind of content that JPEG compression handles well. A landscape photo compressed to JPEG quality 80 will look virtually identical to the original at a fraction of the file size.
Use PNG for graphics, logos, and screenshots. Anything with sharp edges, text, flat colors, or transparency needs PNG. JPEG compression creates visible artifacts around these elements because the algorithm wasn't designed for them. PNG preserves those crisp edges perfectly.
Use WebP when you can. WebP is a relatively newer format developed by Google that offers both lossy and lossless compression, and it outperforms both JPEG and PNG in most scenarios. A WebP file is typically 25-35% smaller than an equivalent JPEG at the same visual quality. The catch is that while browser support is now excellent (all modern browsers handle it), some older software and email clients might not recognize the format.
Use SVG for icons and simple illustrations. SVG files are vector-based, meaning they scale to any size without quality loss. They're also typically tiny — a complex icon might be just 2-3 KB. If your image is made up of geometric shapes and solid colors, SVG is almost always the best choice.
Here's a quick reference:
| Image Type | Best Format | Why |
|---|---|---|
| Photographs | JPEG or WebP | Smooth gradients compress well with lossy algorithms |
| Screenshots | PNG | Sharp text and UI elements need lossless compression |
| Logos & icons | SVG or PNG | Clean edges, flat colors, possible transparency |
| Web photos | WebP | Best compression-to-quality ratio for browsers |
| Print photos | TIFF or PNG | Lossless preservation for professional printing |
The Quality Sweet Spot
If you're using lossy compression (JPEG or lossy WebP), the quality setting matters a lot. Most tools let you choose a quality level from 0 to 100, where 100 is maximum quality (minimal compression) and 0 is maximum compression (terrible quality).
Through years of testing and practical experience, here's what I've found:
Quality 85-95: Visually indistinguishable from the original for most people. File size reduction of 40-60%. Good for portfolio sites, product photos, or anywhere image quality is critical.
Quality 70-84: Slight differences visible if you zoom in and compare side-by-side, but perfectly fine for general web use. File size reduction of 60-80%. This is the sweet spot for most websites.
Quality 50-69: Noticeable quality loss, especially in areas with subtle gradients or fine detail. Acceptable for thumbnails, background images, or situations where speed matters more than pixel perfection.
Below 50: Visible artifacts. Only use this for very small thumbnails or when bandwidth is extremely limited.
My personal recommendation for most use cases? Start at quality 80 and see if the result looks good. If it does, try 75. Keep going until you notice degradation, then step back one notch. That's your sweet spot.
How to Compress Images (Practical Methods)
Let's get into the actual how-to.
Online tools are the easiest option for quick, one-off compression. Our image compression tool lets you drag and drop images and download compressed versions in seconds. No software to install, no settings to fiddle with — we handle the optimization automatically.
Desktop software gives you more control. Tools like GIMP (free), Photoshop, or Affinity Photo let you export images with precise quality settings. When saving as JPEG in any of these tools, you'll see a quality slider — that's where you apply the principles from the previous section.
Command-line tools are great for batch processing. If you need to compress hundreds of images, tools like ImageMagick, jpegoptim, or cwebp can process entire directories in seconds. For example, converting a folder of JPEGs to WebP at quality 80 with cwebp is a single command.
Build tools and CDNs handle compression automatically for websites. If you're a web developer, tools like Sharp (Node.js), Pillow (Python), or image optimization plugins for webpack/Vite can compress images as part of your build process. CDNs like Cloudflare can also compress and convert images on the fly.
Resizing: The Often-Overlooked Step
Here's something that surprises a lot of people: compression isn't always the first thing you should do. Often, the biggest file size win comes from simply resizing the image.
Think about it. Your phone camera shoots at 12 megapixels or more — that's roughly 4000 x 3000 pixels. But if that image is going to be displayed at 800 x 600 pixels on a webpage, you're sending 15 times more pixel data than the browser actually needs. No amount of compression can make up for that kind of waste.
Before you compress, ask yourself: what's the largest size this image will ever be displayed at? Then resize to that dimension (or maybe 1.5x for retina displays) before applying compression. You'll often see file sizes drop by 80-90% from resizing alone, before compression even enters the picture.
Real-World Impact: A Quick Case Study
I recently helped a friend optimize the images on his small business website. The homepage had 8 images, all uploaded straight from his phone camera. Total page weight: 47 MB. The page took 12 seconds to load on a decent connection.
Here's what we did:
1. Resized each image to the maximum display size (most were shown at 600-800px wide, but the originals were 4000px) 2. Converted from PNG to JPEG for photographs (his phone saved in PNG for some reason) 3. Compressed to quality 78 4. Generated WebP versions for browsers that support it
The result? Total page weight dropped to 1.2 MB. Load time went from 12 seconds to under 2 seconds. And honestly? The images looked just as good to the naked eye. His bounce rate dropped by 35% in the following month.
That's the power of proper image optimization. It's not glamorous work, but it makes a real, measurable difference.
Compression for Email Attachments
Email providers typically cap attachment sizes at 20-25 MB. If you're trying to send a batch of photos, you'll hit that limit fast with uncompressed images.
A few practical tips:
Compress images to JPEG quality 80 before attaching. For most purposes, this is more than sufficient quality. If you're sending photos to be printed, mention that you have higher-resolution versions available and offer to share them via a file-sharing service.
Consider using our image format converter to switch from PNG to JPEG before emailing. PNG files are often 3-5x larger than JPEG for photographic content, and most email recipients won't notice the difference.
The Bottom Line
Image compression isn't complicated once you understand the basics. Choose the right format for your content type, find the quality sweet spot that balances size and appearance, and don't forget to resize before you compress.
For quick, hassle-free compression, our online image tools handle the heavy lifting for you. Drop your images in, get optimized versions out. No technical knowledge required.
Your images don't need to be massive to look great. They just need to be smart.
Sebastian Deshan
Founder at FileNinja. Writing about file management, productivity, and making digital workflows simpler.